Order Form Template for Small Businesses
August 24, 2026
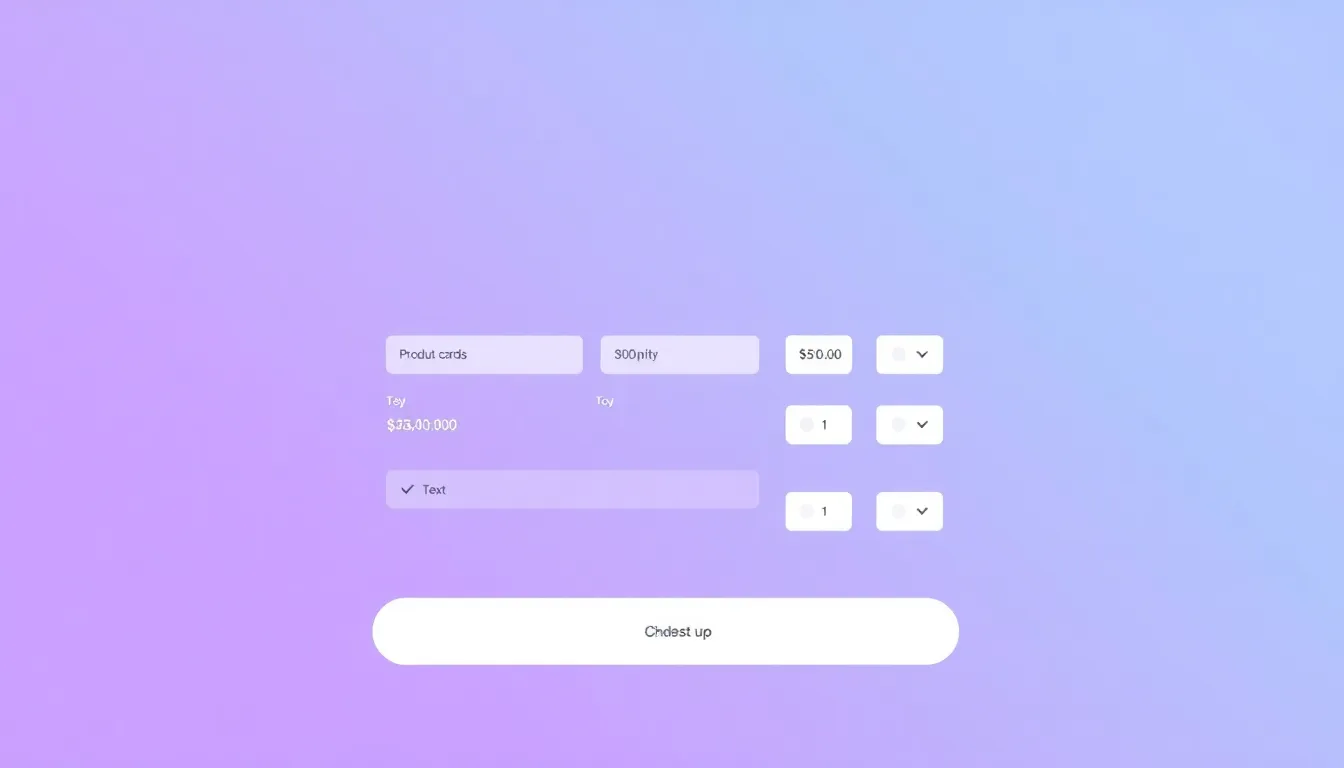
If you sell products or services without a full e-commerce cart, an order form template is the fastest way to take orders online. It lets customers pick what they want, tell you quantities, and hand over the details you need to fulfill and follow up — all from a single page. This guide gives you a ready-to-use order form template, three example variations, and best practices for keeping it clear and accurate.
What an order form is for
An order form collects a customer's product choices and the information you need to complete the sale: what they want, how many, where it goes, and how to reach them. It is perfect for small businesses that sell a manageable set of items — a bakery taking custom cake orders, a maker selling handmade goods, a caterer booking trays, or a service business collecting job requests.
Unlike a full store, an order form is quick to set up and easy to change. You can build one in FormMaker in minutes, then embed it on your website or share the link on social media and in messages.
Create your order form free with FormMaker
The core order form template
Start with this structure and adapt it to your products.
- Customer name — short text — required
- Email — email — required — for order confirmation and questions
- Phone — phone — optional — helpful for delivery or clarifications
- Product — dropdown or checkboxes — required — list your items with clear names
- Quantity — number — required — set a sensible minimum and maximum
- Options / variations — dropdown — optional — size, color, flavor, or add-ons
- Delivery or pickup — radio buttons — required — set expectations up front
- Shipping address — address — required if delivery — hide when pickup is chosen
- Preferred date — date — optional — for made-to-order or scheduled items
- Special instructions — long text — optional — allergies, gift notes, customizations
Only ask for an address when the customer chooses delivery. Conditional fields like this keep the form short for everyone else.
Three order form examples
Example 1: Simple product order form
For a small catalog where customers order a few known items.
- Customer name — short text — required
- Email — email — required
- Product — checkboxes — required
- Quantity — number — required
- Delivery or pickup — radio buttons — required
- Notes — long text — optional
Clean and fast. Great for a market stall, a home baker, or a small maker.
Example 2: Custom or made-to-order form
When each order is bespoke, collect the specifics you need to quote and produce it.
- Customer name — short text — required
- Email — email — required
- Phone — phone — required
- Item type — dropdown — required
- Size or dimensions — short text — required
- Color or style — dropdown — optional
- Reference image — file upload — optional
- Needed by — date — required
- Description of what you want — long text — required
The file-upload and description fields help you quote accurately before you start work.
Example 3: Wholesale / bulk order form
For B2B orders where quantities and business details matter.
- Business name — short text — required
- Contact name — short text — required
- Email — email — required
- Products and quantities — long text or repeatable rows — required
- Delivery address — address — required
- Requested delivery date — date — required
- Purchase order number — short text — optional
Route these to a Google Sheet or your fulfillment tool so nothing gets missed.
Best practices for order forms
- Name products clearly. Use plain item names in your dropdown or checkboxes so customers know exactly what they are ordering.
- Show delivery vs. pickup early. Ask this before the address so you only collect shipping details when needed.
- Use conditional fields. Hide the address for pickup orders and show variation options only for products that have them.
- Set quantity limits. A number field with a minimum and maximum prevents accidental or impossible orders.
- Confirm the order. After submit, show a clear confirmation and send an email so the customer knows their order came through.
- Be mobile-friendly. Most orders come from phones. Keep the layout single-column and the product list easy to tap.
- Plan for payment. Decide whether you collect payment on the form, send an invoice after, or take payment at pickup — and say so clearly.
Build your order form in minutes
In FormMaker, drag in a product dropdown or checkbox group, a quantity field, and your delivery details, then mark the essentials required. Use conditional logic to show the address only for delivery orders. Publish, then embed the form on your shop page or share the link in a post or message. Orders land in your dashboard with analytics, and integrations can push each one to Slack, Google Sheets, or your fulfillment workflow automatically.
Build your order form free with FormMaker
FAQ
Can I take payments on an order form?
You can collect the order and total, then handle payment your way — an invoice, a payment link, or payment at pickup. Connect your billing tool through integrations if you want to automate it.
How do I handle product variations like size or color?
Add a dropdown for each variation and show it only for products that need it using conditional logic. This keeps the form short and accurate.
Should I embed the order form or share a link?
Embed it on your shop or product page for a seamless checkout feel, or share the link on social media and in direct messages when you promote a product.
How do I keep orders organized?
Every order is stored in your FormMaker dashboard. Connect a Google Sheet or Slack channel so new orders appear where your team already works.
Build your first form free
Drag, drop, publish. No credit card, unlimited submissions.